Cabinet Care – Keep your cabinets looking their best!
A kitchen renovation is a major expense. When you make an investment in your home, every minute you spend on basic cabinet care and upkeep increases its longevity, ensuring you get the best value for the dollars you put in. What are the best ways to ensure you get the best return on your investment? We’ve been building cabinets and renovating homes for 40 years, so there are some pretty time-tested cabinets out there, and we know all the best ways to make sure yours last just as long.

1. Start caring for your space BEFORE you build it
It may sound a bit strange, but getting the best bang for your buck on your kitchen renovation investment starts at the pencil and paper stage. Some of the factors that determine the longevity of your kitchen or bathroom can be determined in the initial design phase.
Resist trendy investment pieces and opt for classic styles.
Now before you revolt… hear us out. This doesn’t mean that you should build something you don’t like, or ignore the things that are current or stylish. We just want you to be strategic about it. Think back to some of the design choices from the 80s and 90s. Glass block walls and stencilled or wallpaper borders were never destined to go the distance, but one of them required a lot more work to remove than the other. When it comes to the expensive and more permanent parts of your space (the cabinetry, the layout, countertops, tile, and flooring), it’s best to choose styles and finishes that you love and ones that you’ll be able to make work with all those unknown future trends.

Painting your walls, decorating your space, changing furniture and artwork, even swapping out fixtures and hardware are generally simple tasks and can breathe new life into a space without the cost and hassle of a major renovation. Invest in the longevity of your renovation by making the expensive choices ones that will last.
That said, how you choose to do this is entirely up to you! The most important factor in how long your renovation lasts is how much you love it. If your space doesn’t reflect your lifestyle and personality, you’ll grow dissatisfied with it more quickly than if you make eclectic choices that suit you perfectly.
Make smart hardware selections
It may seem counter-intuitive for kitchens and bathrooms and other spaces that get used regularly, but if you want your cabinets to outlast your expectations you’ll need to keep your hands off them. The oils from your hands and constant touching result in damage to the finish (most often seen as shiny spots or fingerprints you just can’t get rid of). Trust me, we know how beautiful and minimalist those touch-latch cabinet doors are, and we will absolutely build them for you if that’s the look that speaks to you, but be forewarned about the downsides.

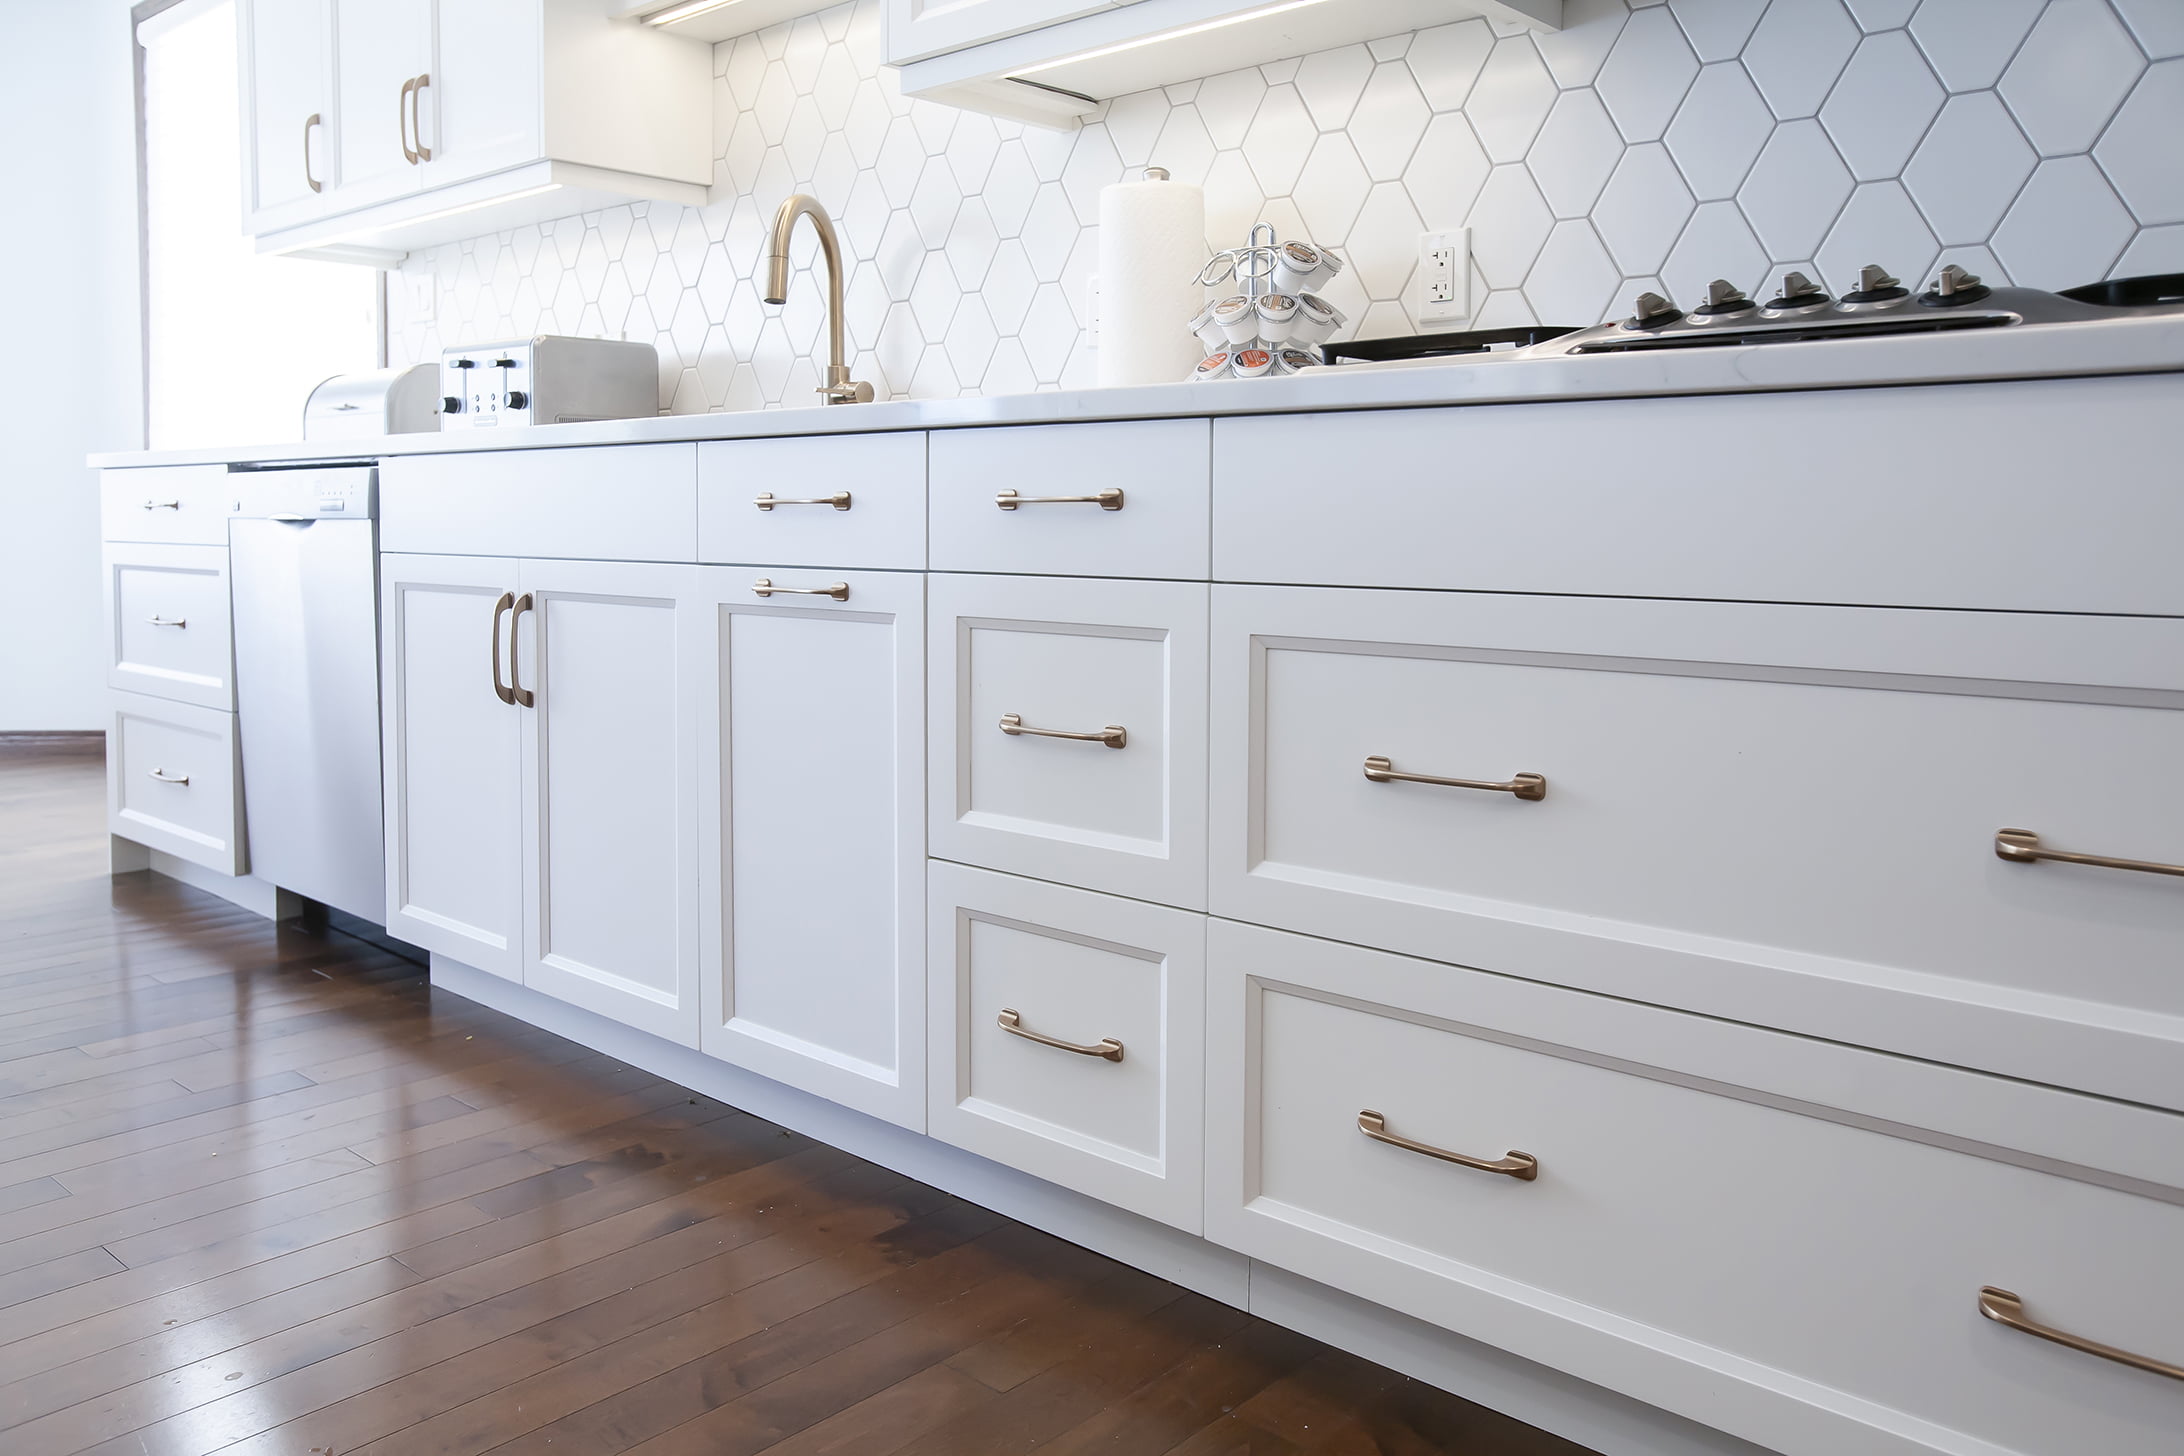
Thankfully, there exists a wide selection of cabinet and drawer pulls that can almost eliminate this kind of permanent damage (as long as you use them), and we’d be happy to help you find the right ones. Those of you who may have just realized your dreams of handle-free doors might not be the best idea can look into edge pulls for that clean and simplified look.
2. Stay on top of regular care and maintenance
Regular and consistent care is what is going to keep your cabinetry and renovation looking its best for as long as possible. It can take time, but the benefits outweigh the drawbacks. Humidity, heat, water, cooking greases and constant use are the main enemies in the battle for cleanliness and damage prevention, and of course, all of those factors are typically present in a kitchen. Being proactive and keeping things as clean as possible will ensure your new cabinets last for decades.

Cleaning
Not only does regular cleaning keep your home spic and span, it also ensures your home functions at its best. Every material in your home has the potential to collect dust and grime and there are no rooms that do this better than kitchens and bathrooms. Not to mention, these are the two rooms you REALLY want to keep clean and sanitary.
Cabinets and countertops should be wiped down regularly with soft, damp cloths. Try not to use excessive amounts of water on cabinet surfaces to ensure nothing is absorbed into the edges. You don’t need much in the way of cleaning products, just a bit of dish soap and water works well. Try to avoid harsh or abrasive cleaners, scrubby pads, scrapers and anything that may scratch or dull the surface. Wipe up spills right away and try not to let them soak into or dry onto any surface to prevent staining.
Crumbs and dirt have a way of falling into every drawer, so either wipe them out or use the brush attachment on your vacuum to easily clean them up.
Once or twice a year, it’s a good habit to do a deeper cleaning to get rid of the buildup that happens (especially in a kitchen were there are airborne cooking oils, but also in humidity-prone bathrooms). Use a soft brush to get into corners and edges that might be missed by a cloth. Give a scrub to any exposed cabinet tops, and wipe down any grime that may have collected on hinges or pulls. If you want to give your pulls a deeper cleaning, it’s best to take them off before you scrub them to prevent any scratching at your finished surfaces.

If you find your cabinets are feeling sticky or greasy and general washing isn’t helping, look for a mild oil-based cleanser (We’ve had good luck with Murphy’s Oil Soap, or a liquid castile soap). This type of soap can cut through grease and restore the shine. As with all cleaners, it’s smart to test on an inconspicuous spot to ensure it won’t damage your finish before broad use.
Care
As our grandmothers always said, “an ounce of prevention is worth a pound of cure”. The more you do to prevent damage in the first place, the less fixing you’ll need to do.
Keep an eye on the moving parts: Every moving part of your cabinets may need adjustment from time to time. If doors and drawers start to shift and rub against each other, it won’t be long before you’re going to start to ruin the finish, so be proactive! European hinges are a standard in the cabinetry industry, so learn how to keep them adjusted (it’s simple, we promise) and if you find that your drawers are binding, rubbing, or not sitting properly, investigate early.
(Remember, we stand behind our work, so if you’re having trouble with a Gateway product, please give us a call right away, and we’ll be happy to help.)

Self-Cleaning ovens: Most self-cleaning ovens do their work by heating up to temperatures well beyond those you’d use to cook, and even the outside surfaces of your oven can get quite warm during a cleaning cycle. This added heat can wreak havoc on nearby wood and finished surfaces. While painted or stained cabinets can withstand some heat (some may discolour), Thermofoil wrapped cabinet doors can handle very little and melt quickly.
We get it, the inside of ovens get filthy and to be honest, spray cleaners aren’t good for finished cabinetry either, so what can you do?
Firstly, try to avoid spills inside your oven. Slide a cookie sheet underneath that pie that threatens to overflow or loosely cover splatter-prone dishes with foil. Next, do your best to stay on top of small spills and splatters inside your oven so you won’t need to use the self-cleaning feature as often. For more stubborn spills, try heating up a pan of water in your oven to create some steam to help loosen things up. Spot clean as often as you can.
Some oven brands are aware of the damage heat can cause, and more and more are coming out with steam-cleaning ovens to replace the high-heat versions. If you’re replacing appliances during your renovation, look for one of those to help your cabinets stay looking their best.
If you do need to use the self-cleaning feature on your oven, and you are able to, pull your oven a little ways away from the wall. Much of the heat will escape through the edges of the door, so any distance you can create between that and your cabinet faces will help.

3. Fix damage when it happens
Sometimes despite our best efforts, damage and wear and tear happen anyway. Here are some suggestions on how to fix it, hide it, or prevent further damage:
Worn away finish on stained wood cabinets: This type of wear occurs most often on edges and corners, and while it can be unsightly is generally easy to touch up. If you know the colour of the stain you used or can find one that’s close, a light touch on the exposed wood is usually enough to blend it right in. Hardware stores even carry stain pens for this very purpose. Because wood can have multiple shades to it, even if you can’t get an exact match, you can usually find something that will work. The key here is using as little as possible with a light touch, and wipe off any excess. It’s like salt when cooking… its easier to add than it is to take away, so start slowly.
Worn away finish on painted cabinets: Touching up a painted surface is a lot trickier than stained wood. Variations in colour are a lot more noticeable on painted finishes, and even if you have some paint in the original colour, years of sunlight and wear can change the colour of a finish just enough that it won’t match the original colour anymore. If you do have a good match, adding some paint to a small nick with an art brush can be enough to blend it in so it won’t catch your eye. For anything larger, or for paint colours that are hard to match, we recommend consulting a pro.
Sagging Shelves: While we do everything we can to prevent this from happening, there are times (especially when you store heavy items) when shelves will begin to bow. The best thing to do is be proactive. If your shelves are removable, flip them over regularly so they don’t continue to bend in the same direction. If you can’t remove the shelves, give us a call and we’ll see if we can find a way to add extra support.

Stripped Screw Holes: It happens. Maybe you tried to use an open door to steady yourself, or one of your drawers was a bit overloaded and now a screw has pulled out. Once the screw has pulled loose, it seems daunting to repair, especially when it’s in a spot that lines up with a hinge or other hardware. We actually have a fairly simple fix that works in this situation. All you need are some regular toothpicks and wood glue.
- Remove the hardware and clean out any loose debris from the hole in question
- Dip the ends of your toothpicks in the wood glue and stuff as many into the hole as you can. (There will be toothpick ends sticking out, but don’t worry about that yet)
- Let the glue dry—overnight ideally. If you’re worried about them shifting use some masking tape to hold them in place
- Once dry, use a utility knife to cut away the toothpick ends flush with the cabinetry. Be careful here so you don’t damage the surrounding finish.
- Reinstall the hardware, driving the screw right through the toothpicks and glue.
Loose handle screws: After years of use, the threads of these screws can wear down and become loose. You’ll find that you’re needing to tighten them regularly to keep the handles from moving or turning. To fix, take the screw out, add a little bit of superglue or Loctite to the hole and reinstall the hardware.
Stained or damaged stone countertops: Our friends at Solid Stone Countertops did a series of posts about stone countertops and they’re full of information on how to maintain your countertops and prevent (or fix) damage. Check them out: Heat and Impact and Stains.

Worn butcher block countertops: Butcher block countertops are one of the most complicated to regularly maintain, but the easiest one to repair if needed. You don’t need much more than some sandpaper, some elbow grease and a good coating of butcher block oil. Staying on top of regularly oiling your butcher block goes a long way to keeping your countertops in tip-top shape, but even if you’ve gotten behind, it doesn’t take much more work to catch up. Sand down any stained areas, visible knife marks, dents and dings and re-coat with a good oil and you’ll be good as new.
Worn or dull laminate countertops: Laminate is a sturdy and long-wearing material, but the finish does dull with use over time. Beyond your countertop just not looking their best, if you have light-coloured laminate, this can also lead to increased staining. There are a few products on the market that can help (please don’t use car wax), but one we’ve used and are familiar with is Gel-Gloss. While product like this one aren’t permanent solutions (you’ll need to reapply every few months) they can definitely extend the life of your countertops.
4. Enjoy your space!
The best way to make sure your cabinets and home renovations last is to enjoy it. A space you feel happy in—that reflects your style and personality—is going to be a space you treasure and take care of.
Does your home fit that bill? If not, maybe it’s time to schedule an appointment with one of our designers and see how we can help you build something extraordinary.

